Click here to Purchase the Cable Comb™
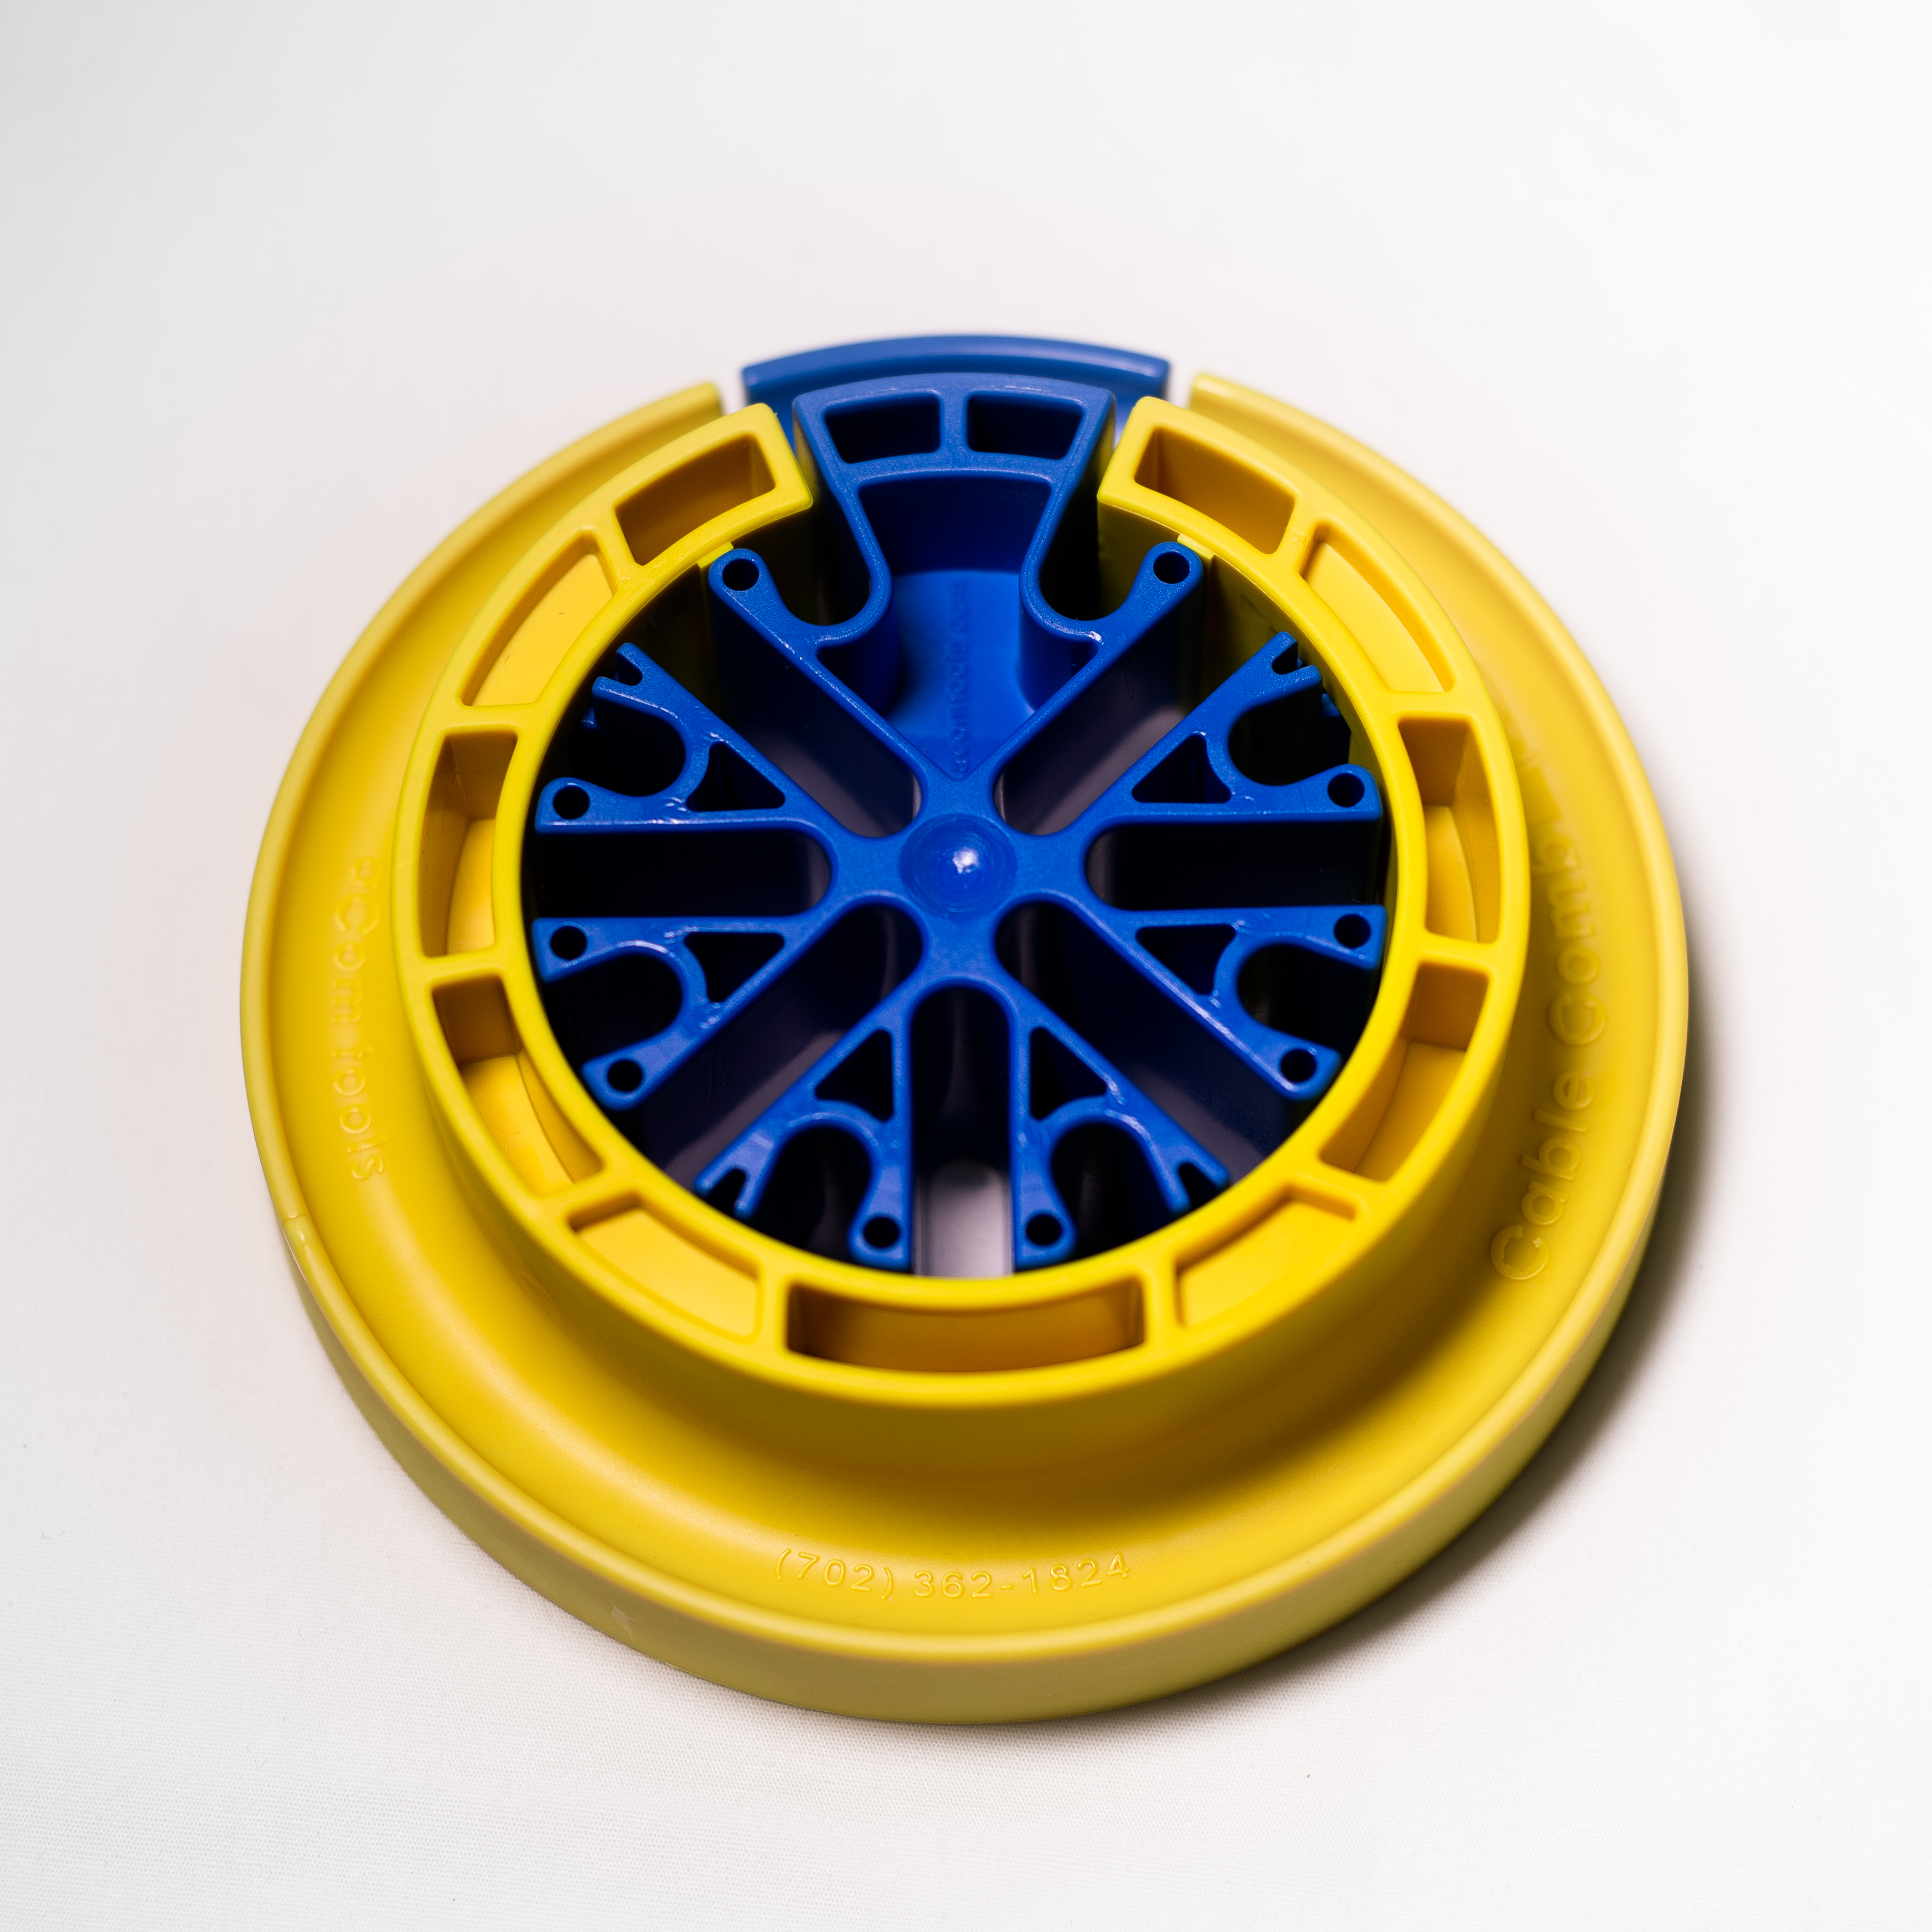
 The Cable Comb™ consists of a blue inner hub and a yellow outer collar. The inner hub is designed to interlock with the outer collar to provide an assembly allowing installers to conveniently straighten, organize, and lash single cables into professional appearing cable bundles. The open slots of the inner hub and the split opening of the outer collar allow the cables to be loaded or removed from the tool at any point within the run without threading the ends of cables through closed holes.
- Arrange your cables for tangle-free bundling.
- Remove the blue hub from the yellow outer collar of the Cable Comb. Hold the blue hub perpendicular to your cables - make sure the rounded finger pull of the pie-shaped protrusion is facing away from the direction you'll be pulling in.
- Load the individual cables into the various slots of the blue hub on the Cable Comb. (How many cables each slot can hold depends on the type of cable being combed.) Do not overload a slot with cables. Cables in each slot must remain loose after you re-attach the outer collar.
- Once the cables are loaded in the blue hub of the Cable Comb, slip the yellow collar over the cables behind the blue hub.
- Rotate the collar to align the pie-shaped protrusion of the hub to the opening on the collar. Slide the collar onto the hub. (If the fit is too tight, it means one or more of your slots is overloaded. Remove the collar, redistribute your cables in the hub, then put the collar back on and test the fit again.)
- Begin sliding the assembled Cable Comb (hub + collar) down the length of your cables. The cables emerge from the comb in a smooth, organized bundle.
- Wrap the combed bundle with Velcro, tie wrap, or equivalent cable lash every 2 to 3 feet as desired to keep the cables organized and together. Continue the combing process to provide bundle lengths as required for the installation.
- If necessary, disengage the yellow collar from the blue hub to unload individual cables that need to be terminated or directed elsewhere. Slip the yellow collar back onto the blue hub to continue combing.
- To remove the Cable Comb, slide the yellow collar backwards, off the blue hub, and remove it from your cable bundle. Unload remaining cables from the blue hub. If the cables aren't terminated, the Cable Comb may also be slid completely off the end of the remaining cables to remove the tool as a mated assembly.
- Keep the inner blue hub mated with the yellow outer collar during storage to protect the slots and face of the tool from potential damage.
